- Industrial Design Service from Start to Finish
- info@creatid.com

Getting Started with an Epic Sprinter Van Conversion
August 31, 2017
Custom Sprinter Conversion: Maximize the Exterior
November 15, 2017Insulating a Sprinter Van for Painless Road Trips
UPDATE: You can contact Roost Vans directly for van conversion products and van conversion work. Visit them at Roostvans.com
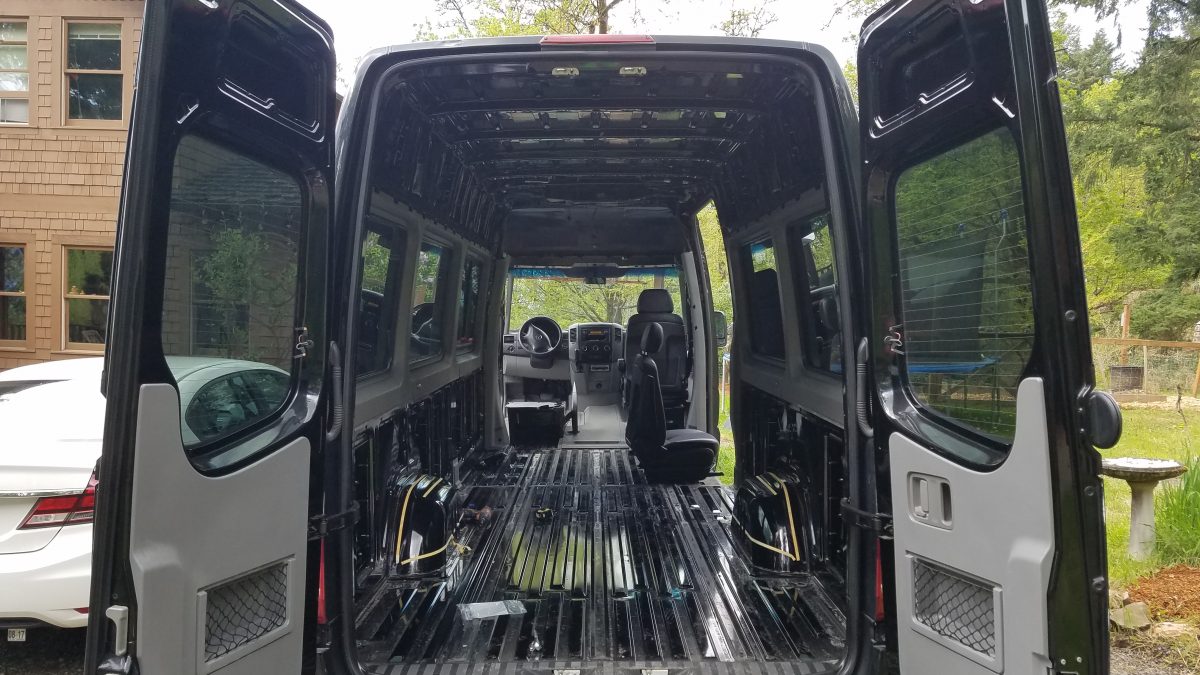
What’s the first thing you do after purchasing a perfectly good Sprinter? You tear out the interior, of course! Well…that’s what we did anyway with our Sprinter, “La Bonita Negra” (aka “Bonny Lass”).
Why tear out the interior in your new Sprinter van?
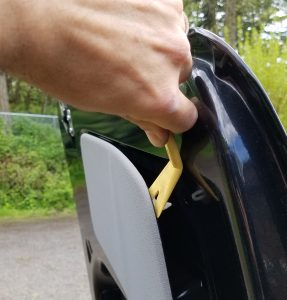
First off, I’m an industrial designer and I have no qualms about taking anything apart so I can rebuild it later. (Don’t worry, we’ll put most of the interior back together for Bonny.) And secondly, insulating a Sprinter van has many advantages.
Being a Sprinter van enthusiast yourself, you still might be wary of taking on such a project. Let me persuade you—here are some great advantages to insulating a Sprinter van:
- Keep heat out
- Keep heat in
- Keep cold out
- Keep cold in
- Keep noise out
- Keep noise in
- Any or all of the above
If you plan to live in, camp in, sleep in or simply spend a lot of time in your Sprinter, these advantages start to increase in value very quickly.
Insulating a Sprinter Van
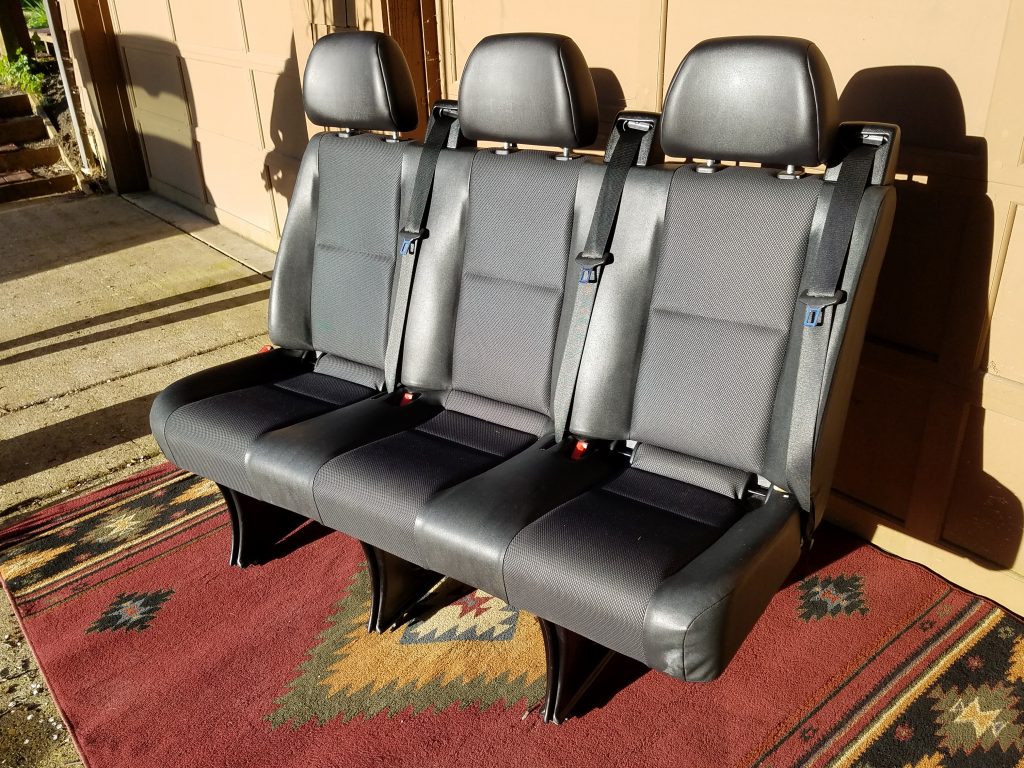
Removing the entire interior was actually pretty easy. This also led to surprising additional Sprinter van conversion project funds.
We had no future use for the (2) three-passenger bench seats that were installed in our Sprinter when we purchased it. So, we sold the seats for about $500 each and made out like bandits. Bonus!
We decided to keep the two-passenger bench seat, which as it turns out was custom modified from a three-passenger seat. Apparently, they are super rare so that upped the cool factor.
I’m sure it will come as no surprise that there are varying opinions regarding insulating a Sprinter van. After our own research wormhole, we eventually landed on a solid solution.
We were just days away from having our van professionally spray foamed for insulation, but remained undecided. We contacted Hein van Swaay at Impact 3D out of Hood River, OR for guidance.
What’s the Best Insulation for a Sprinter Van?
Hein confirmed our reservations about using spray foam and encouraged us to use 3M Thinsulate and Low-E Reflective Foam instead. Granted, he’s a distributor for Thinsulate, but none the less his points were valid.
When Hein offered up the opportunity to smell his barn that he had spray foamed over a year ago, we were convinced. We’re looking forward to pleasant-smelling road trips in the near future and out-gassing foam on a hot day is not attractive.
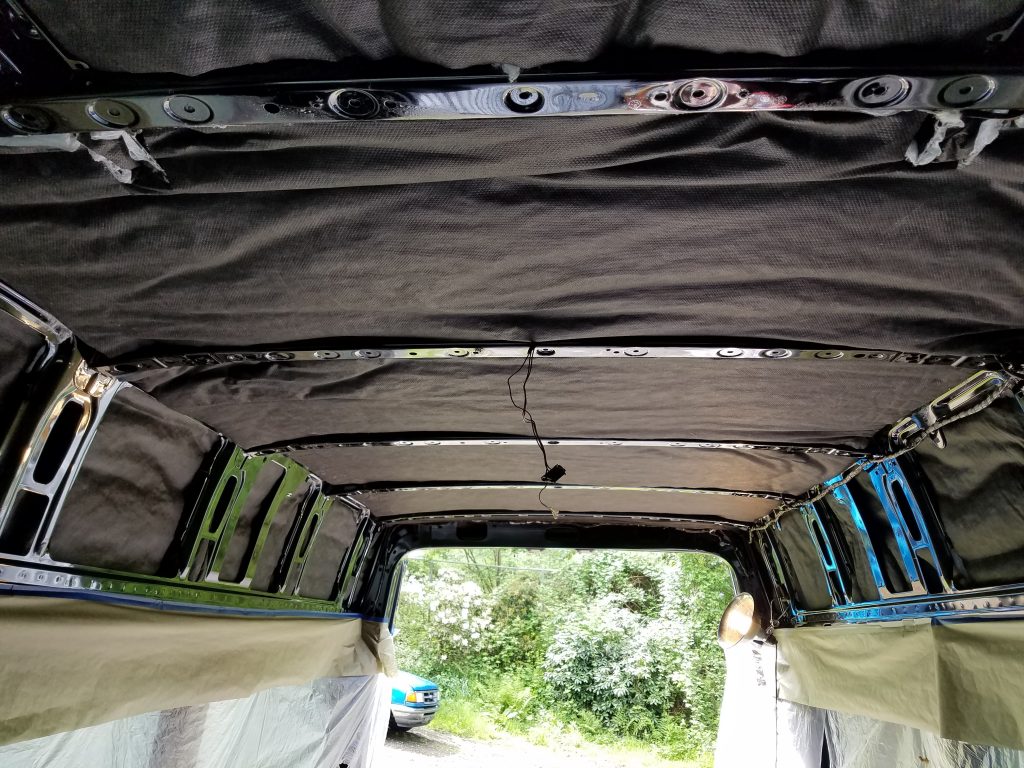
Anyway, as suggested we ended up using a layer of Thinsulate and a layer of Low-E reflectix in the walls. We used 3M Hi-Strength 90 Spray Adhesive to hold everything in place and ended up using about six cans of the adhesive in total, for the entire project.
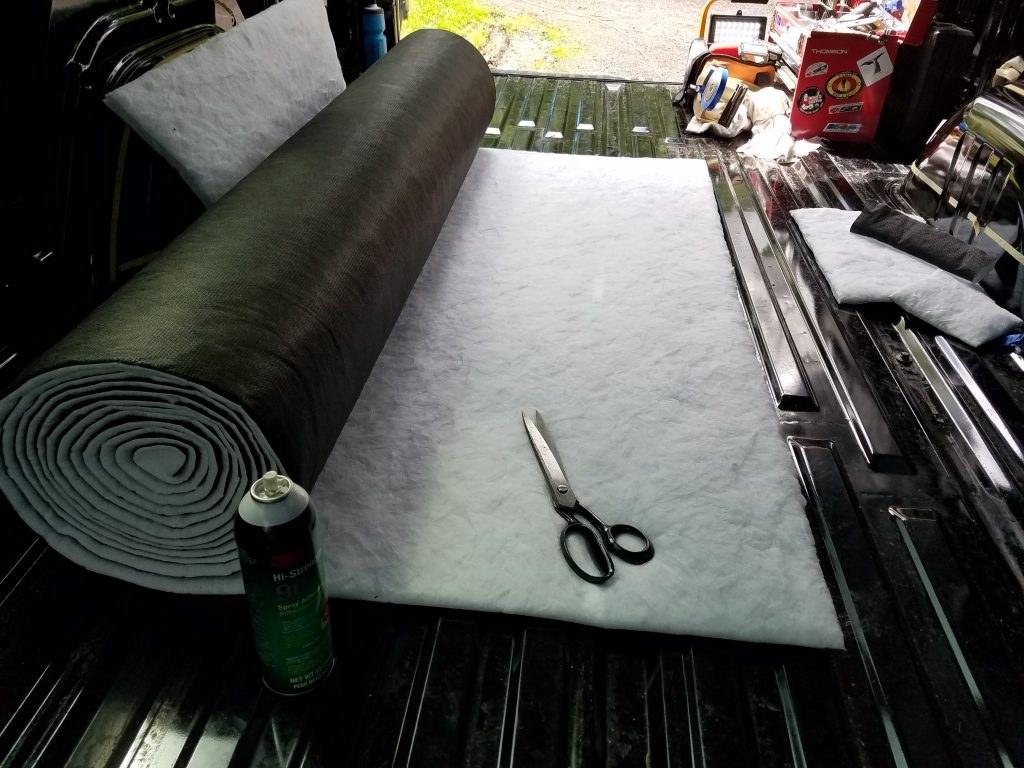
Installation was pretty painless. No fiberglass insulation itchiness to deal with. No off-gassing issues with spray foam. And the performance is amazing.
Soundproofing a Sprinter Van
While tackling floor insulation, we took advantage of the opportunity to reduce road noise. Soundproofing your Sprinter van will make for a much more enjoyable highway experience on those long road trips. Trust me.
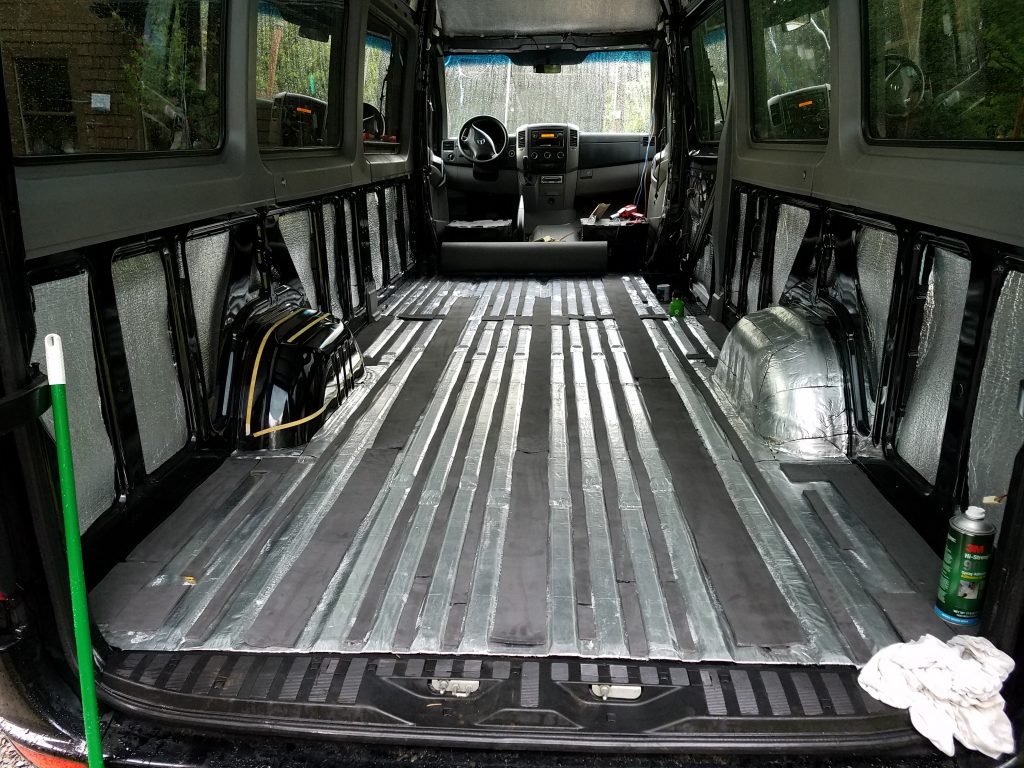
On the floor, we installed mass loaded vinyl resonance deadening material, FatMat Rattle Trap. It’s super thick at 80 mil, and provides tremendous bang for the buck.
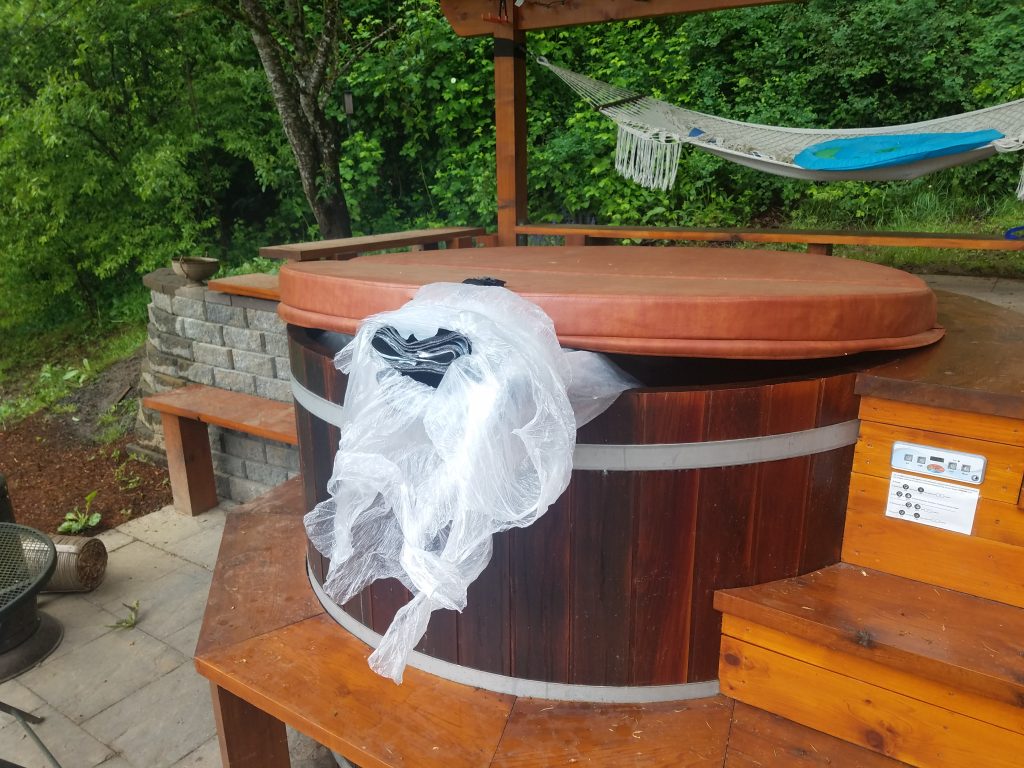
Pro Tip: If you are working in a cold environment, the mass loaded vinyl will be rock hard and impossible to work with. We sealed the roll in a plastic bag and threw it in the hot tub to warm it up. It worked like a charm.
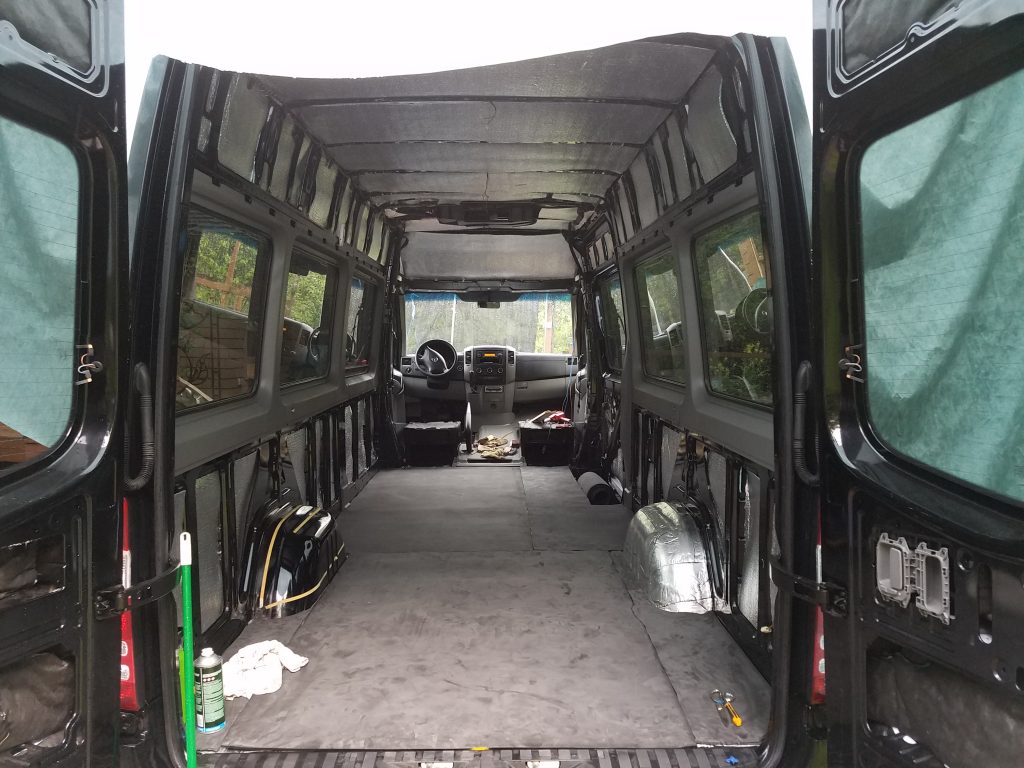
We also threw down ¼” thick Minicell foam rubber on the floor to reduce radiant heat from the highway, thus reducing warming of the vehicle from the underside.
Sprinter Van Insulation Cost
All in all, the insulation project didn’t take that much time. And, the total cost was roughly $1,000 for floor, wall, and ceiling insulation. Our seat removal and subsequent sale offset this cost nicely.
As a finishing touch, we visited the pros at Automotive Outfitters in SE Portland. They installed UV-reflective tinting on all the windows—which came in at an additional $1,000—and the effect is dramatic. Believe it or not, driving straight-on into the sun is almost an enjoyable experience.
Stay tuned for the next chapter in the Sprinter van conversion blog series. If you missed our story about how we got started on this crazy journey with Bonny the Sprinter, you can read all about it here.
UPDATE: We’re now taking reservations for complete custom van conversions through our new site, ModularVan.
Project Specs
- Window Tint: $1000 installed for all windows including the windshield from Automotive Outiftters
- 50 lin ft (5ft wide) Thinsulate SM600L from Impact Products – This is for a 170 wheelbase with windows all around. We had about 6 feet remaining
- 60 lin ft (5ft wide) Low-E from Impact Products: install 4 hours cost $200
- We’re making a couple magnetized window shades out of the extra Low-E, and even then have about 5 extra feet
- 4 sheets of XP-20 Charcoal CTS (Minicell or cross link polyethelene): Install 4 hours cost $80
- 90 sq feet of FatMat Rattle Trap: Install 8 hours cost $200
- 2 cans of Inverted 3M Spray 90 for the floor: cost $40
- 6 cans of 3M Spray 90 for ceiling and walls: cost $80
Some of the above links will take you to Amazon, and as an Amazon Associate CreatID, Inc. will earn revenue from qualifying purchases.
In Hindsight
The Low-E on top of the Thinsulate is a questionable addition. In order to get the most benefit from it, you need about a centimeter of dead air area between it and the radiant surface you are trying to protect from. I’m not sure I’ll use it again as the cost and the effectiveness of the Thinsulate are so great. I’m not regretting it, but do question how much it’s performing. There are quite a few blogs and discussions regarding this but I can’t comment one way or the other with any data. The window coverings we did out of Low-E which I’ll post about later are unbelievably effective at keeping the cold out from the windows, however. So, it’s probably doing more than I think.
I also would’ve worked hard to try to install the GTMat on a warmer day, in the colder air the material is very firm and completely ridiculous to work with.
I have absolutely no regrets regarding the cost or installation of the Thinsulate. Absolutely wonderful to work with and the performance is amazing.

