- Industrial Design Service from Start to Finish
- info@creatid.com

Insulating a Sprinter Van for Painless Road Trips
September 5, 2017
Sprinter Conversion Electrical System: Design and Build
November 29, 2017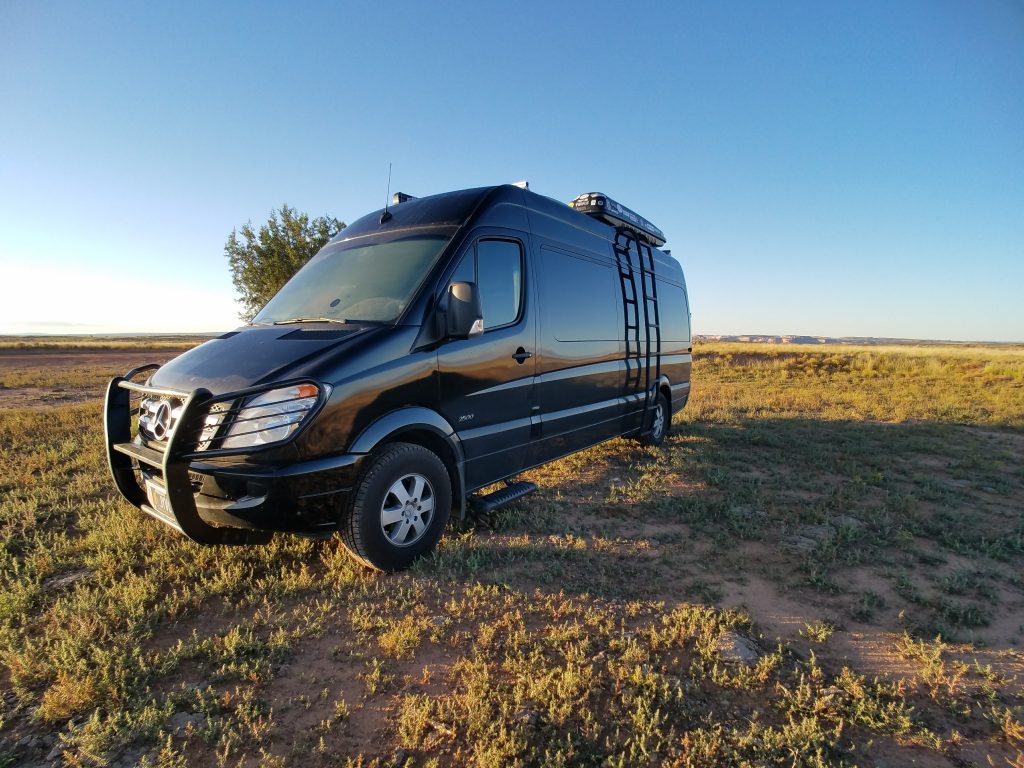
Custom Sprinter Conversion: Maximize the Exterior
UPDATE: Roostvans.com performs complete custom van conversions similar to this. Check them out.
All custom sprinter conversion projects should include a slew of exterior upgrades to make your van look cool…and more functional. We considered ruggedness, accessibility, and storage options for Bonny Lass.
We left few stones unturned while searching for the ultimate exterior upgrades. Our research often led us back to the roof of the van. There’s a lot of real estate up top and we planned to utilize just about every square inch to maximize our camping and road-tripping experience.
For those of you working on your own Sprinter van conversion, today we’re covering roof rack systems, awning installations, and exterior upgrades.
Building a Versatile Sprinter Roof Rack System
We set out to build a versatile family fun machine, and we knew that our Sprinter roof rack system would need to accommodate multiple components.
We quickly discovered that a custom roof system was necessary. It would need to provide a horizontal flat surface for mounting solar panels and a storage box, yet leave room for the factory installed A/C unit that comes as a standard option. It would also require an extremely strong vertical surface to hold the tremendous torque load of a self-supported awning.
To be honest, laying out the roof components to accommodate the factory air conditioning was no less than a complete pain in the ass. We had to mock everything up in CAD to make sure I wasn’t painting myself into a corner. Even then, I had to send back a set of solar panels that I just could not make work.
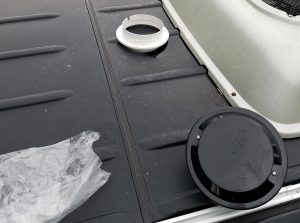
I also wanted to use a MaxxAir fan—but there was no way I could fit the fan and install the quantity of solar panels needed to provide enough energy. After the layout was complete, I found a smaller fan for less that works great and keeps the rain out. Even at 100 CFM, it moves plenty of air.
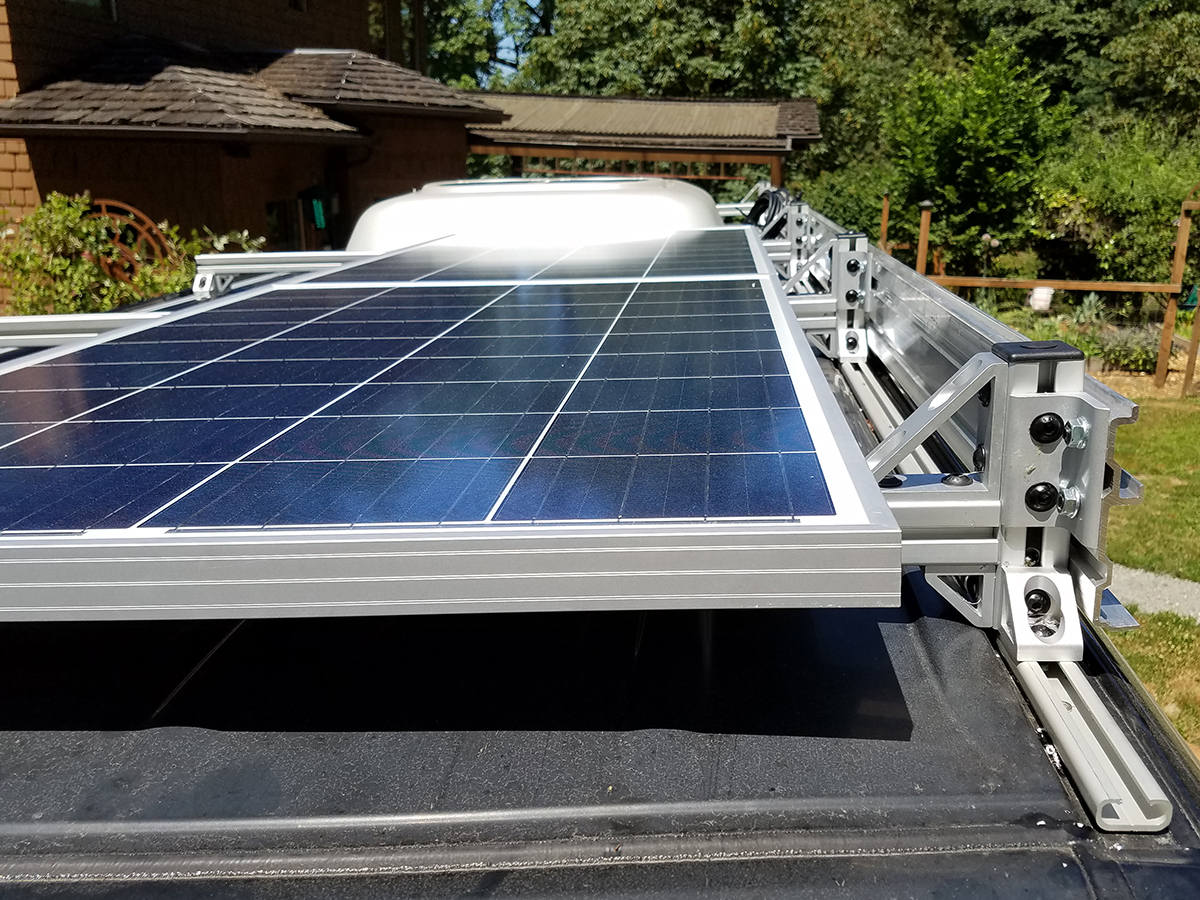
I tracked down a set of 100-watt solar panels that would fit the project requirements. (More on the solar panels later, when we write up the details of the electrical system upgrades.)
 All of this had to look good and be cost effective. So, we snagged some factory-style roof rails from Euro Campers to use as the base for the system. Then we designed the roof rack that everything needed to fit on top, and around, and under, and on the side of… and…
So, the roof rack that we designed gives us a lot of adjustment. A vertical surface to mount a self supported awning. Variable positioning for a cargo box, a couple solar panels, our A/C unit, and our fan. All this while still providing enough strength for safety. For cheap. If you’re looking for a rack like this for your Sprinter conversion project, head over to modularvan.com for this Sprinter Roof Rack Kit.
The pieces from 80/20 are an extrusion aluminum material that you can cut down on a chop-saw with a fine-tooth blade. We combined these custom parts with the roof rails to build the base for our Sprinter roof rack system.
Sprinter Van Awning Installation
Manual awnings typically take about 10 minutes to set up. Not bad, but with powered options available, we decided to look elsewhere. We opted for a 13 ft Dometic 9500E Hard Case Power Awning from Pantherrvproducts.
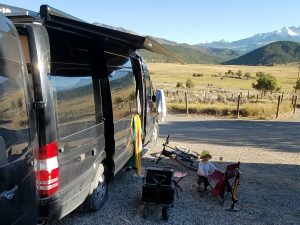 This thing is awesome. It’s a support-less awning that comes out from the side of the rig with the push of a button. It defies gravity and provides great protection from mist and sun, two very common weather features here in the Pacific Northwest. At half extension it also works well as a rain fly, although the manufacturer doesn’t recommend it.
You just hit a button on the remote control and the awning extends fully—with no additional interaction required whatsoever, which is fantastic. You basically get instant shade whenever you need it.
We put the awning through its paces while working on other elements of our van conversion.
This particular self-supported awning weighs about 80 pounds and requires significant structural support for proper installation and safety.
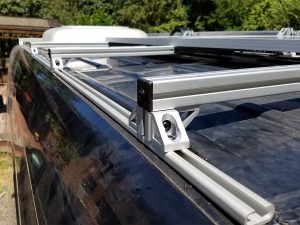
While building the Sprinter roof rack system, we had to consider the potentially extreme torque loads created by the fully extended awning. The roof rack was built with a flat surface for mounting the awning, along with girders spanning the width of the van to spread the torque load.
Since the roof rack needed to support a cargo box, a set of solar panels, the power awning, and straddle the factory air conditioner, many structural variables were considered.
Custom Sprinter Conversion Exterior Upgrades
Functionality and durability are critical when considering accessories for your adventure home on wheels. But, don’t rule out coolness. Sometimes you just need to make your van look cool.
Today the custom Sprinter conversion marketplace is mature enough to offer both. We were able to find upgrades that ticked all the boxes.
Our friends at Automotive Outfitters installed a grill guard to protect Bonny from runaway cattle. And we picked out some running boards to make our lives easier when hopping in and out of the van with our baby.
Automotive Outfitters also treated the interior windows with radiation blocking, SunTek Carbon window film for heat management—and they were kind enough to provide guidance for our installation of a Curt trailer hitch.
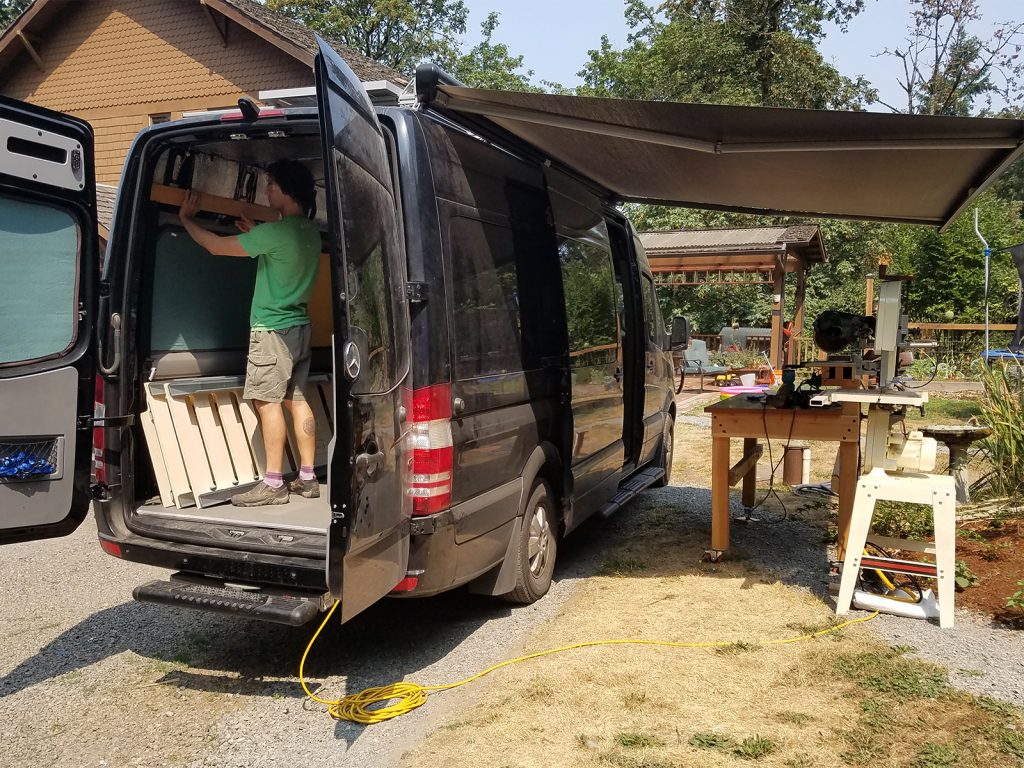
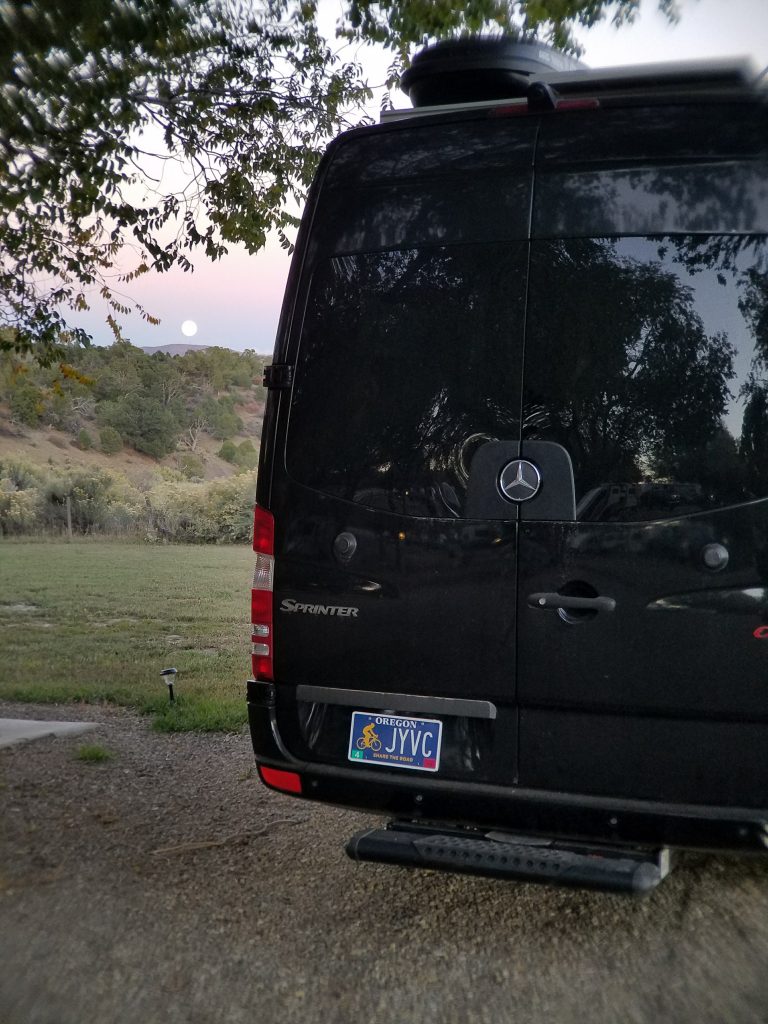 We mounted an O-Mega running board step to the trailer hitch for easy access through the rear doors of the van. This makes loading and unloading gear a breeze.
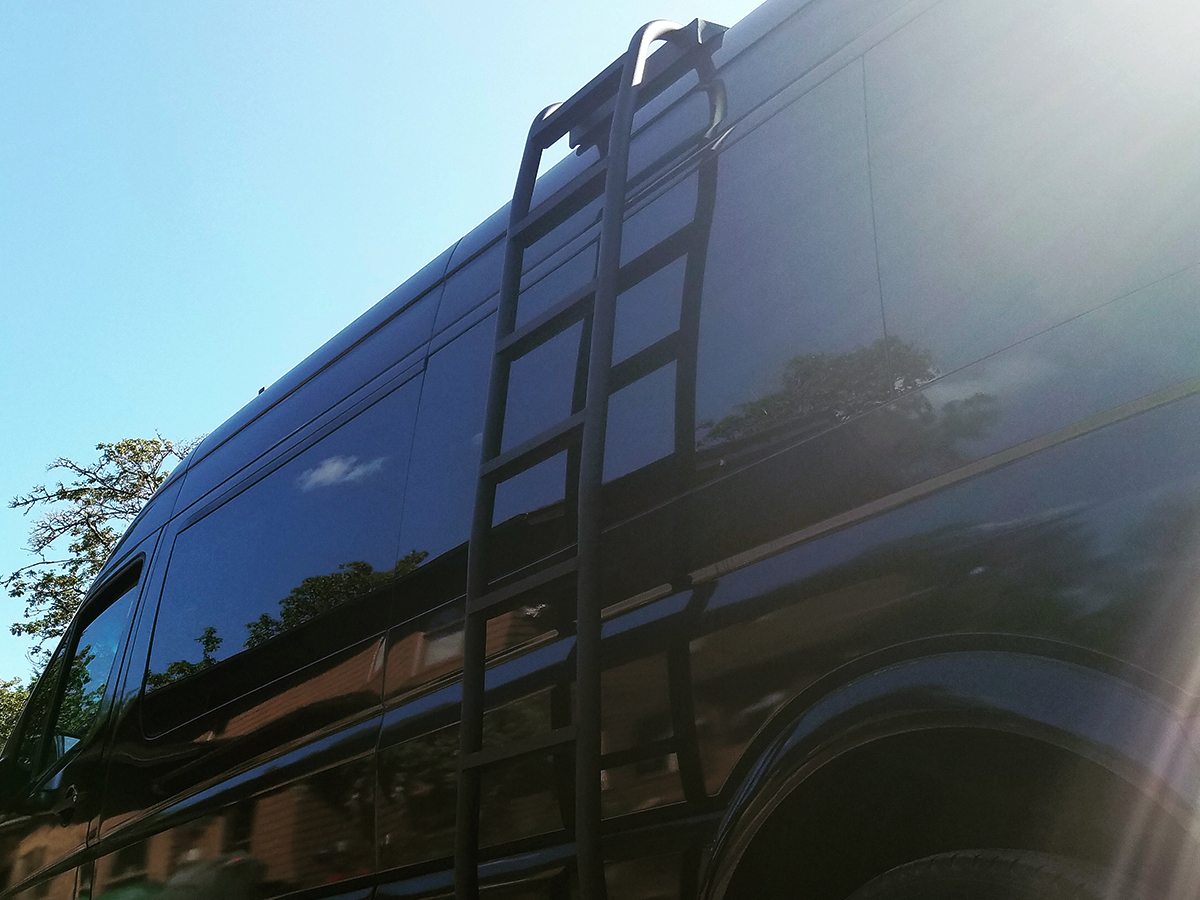
In order to get up on the roof, we needed a ladder. We opted for a side-mounted ladder for easy access to the roof box and solar panels. There aren’t many options available, but we found the pinnacle of Sprinter van ladders.
We went with a unit from RoamBuilt. They build high-quality, rugged exterior outfitting products for Sprinter conversions. When I say rugged, I mean super-beefy-extremely-rugged. If we rolled the van over, it would likely rest on the ladder—no joke.
To install the ladder yourself you’ll need a rivet nut setting tool. I utilized both manual and pneumatic rivet nut setting tools for this project.
Overall, we’re extremely impressed with the ladder and RoamBuilt as a whole. If you’re looking to purchase one for your Sprinter conversion project, Cec at Roambuilt can help.
Bonny is starting to look pretty badass, but we’re just getting warmed up with our custom Sprinter conversion. Up next, the Sprinter Electrical System conversion!
Project Specs
- Teco Pneumatic in Portland Oregon is a great distributor for 80/20
- Sprinter Roof Rack – head over to modularvan.com for a kit.
- Roof Fan – cutting and install: 2 hours cost: $60
- Awning – install and cable routing: 6 hours, plus countless playing cost $1400
- Window Tint: $1500 installed for all windows including the windshield
- Cattle Guard: $400 installed
- Running boards and Rear Step
- Trailer Hitch
- Roambuilt Side ladder: 2 hours cost $650
- Astro Pneumatic Rivnut Tool
- Astro Manual Rivnut Tool
Some of the above links will take you to Amazon, and as an Amazon Associate CreatID, Inc. will earn revenue from qualifying purchases.
In Hindsight
There is now a Dometic-Sprinter specific Awning that mounts to a dedicated extruded bracket. There may be some drawbacks to this though. It’s 12’2” long and unfortunately commandeers the right roof rail entirely, limiting options for a rack up top. Also, the 12’ Dometic Sprinter-specific awning may be a bit short for the 170” wheelbase since the 13’ I installed is about 10” shy of being perfect.
If the Sprinter Specific awning is of interest, it’s expensive. But if your interested, check out these brackets from Impact Products. They’re really slick, with a lower profile and may work with that Sprinter Specific awning bracket—definitely worth looking into. Alternatively, you could forego the roof rack and install solar panels directly to the roof using similar brackets from Impact Products.
All this aside, I’m still pleased with the rack decision, works great and safely supports the top box with some weight for additional storage.
The running boards are great and still allow for a LOT of clearance. But even so, they are limiting. On the next build I’ll consider AMP Research Powerstep auto-retracting running boards. These are about $1200 installed at Automotive Outfitters and retain all the clearance the van has to offer.