- Industrial Design Service from Start to Finish
- [email protected]

Sprinter Conversion Electrical System: Design and Build
November 29, 2017
Elevating the Sprinter Conversion with an Adjustable Bed System
January 17, 2018Sprinter Van Interior Walls: Making Utility Cozy
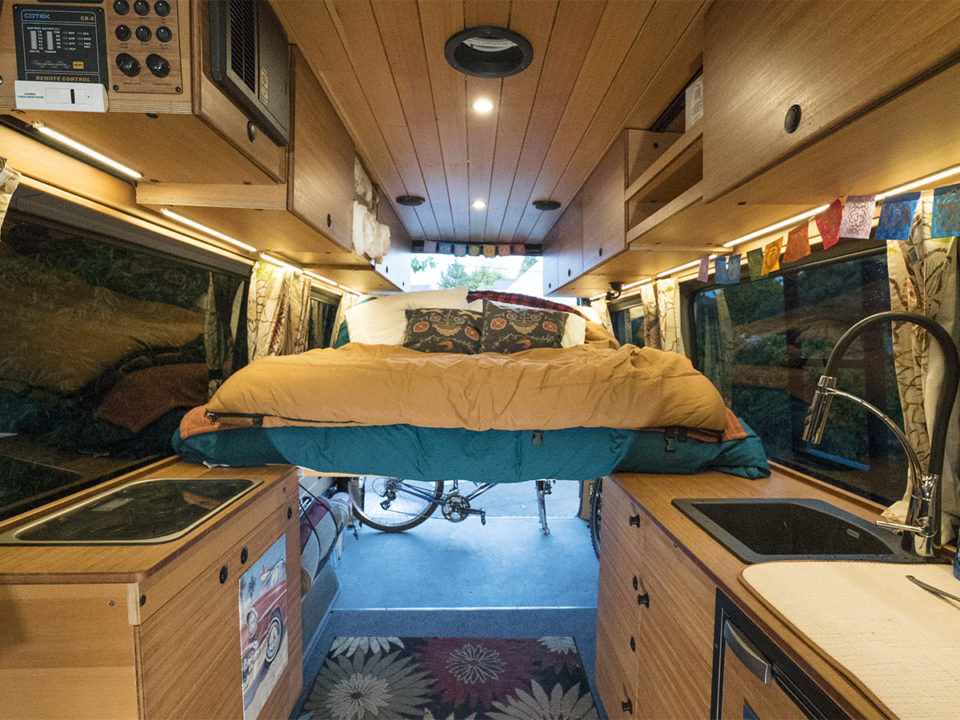
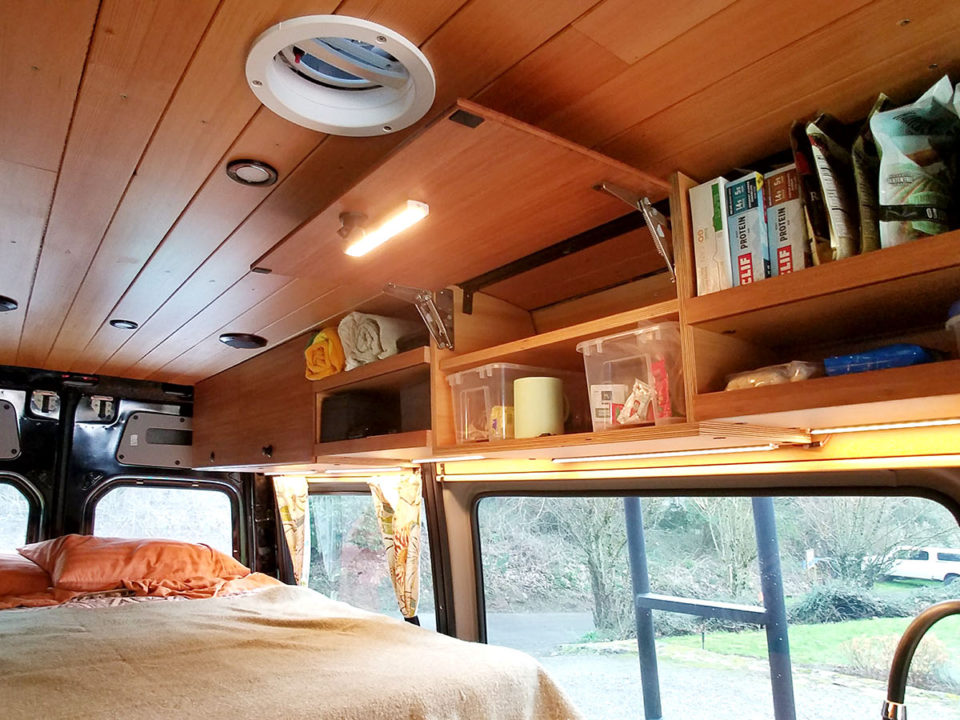
How do you build a high-tech Sprinter interior with the utility of a modular mounting system—but keep things cozy? The warmth of wood is a great place to start.
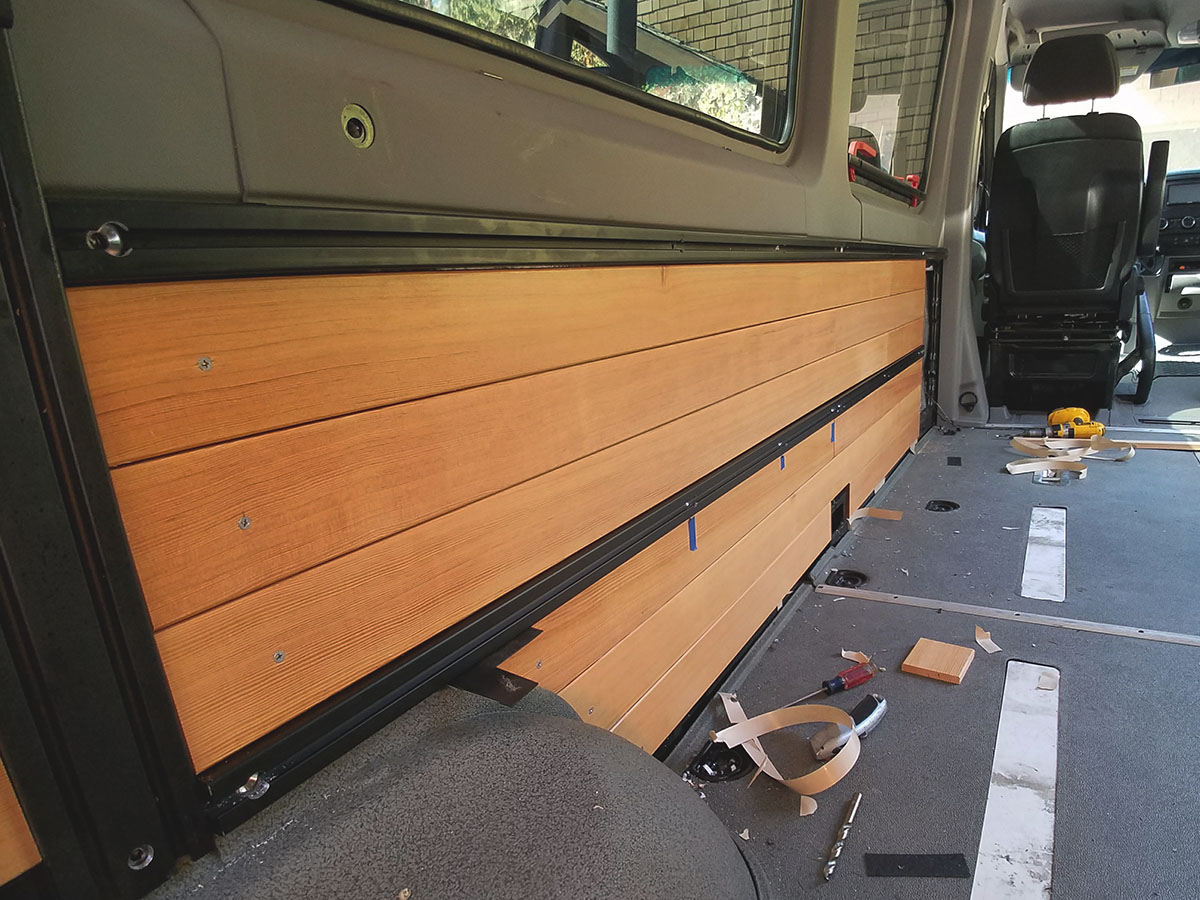
Hard wax prefinished CVG Douglas Fir
UPDATE: RoostVans.com is building custom van conversions inspired by this build, hit them up. This blog also notes the use of 80/20, which was a PAIN! We developed a ready to install Interior Mounting System for Roost available to purchase through their website.
It’s hard not to love the interior of a raw planked boat hull or the look of a Japanese hot soaking tub. Conversely, it’s pretty easy to dislike the look of cheap “wooden” sheet paneling. For the interior of Bonny Lass, we needed to get high-tech with a flexible mounting solution. But we didn’t want to sacrifice any style or warmth along the way.
We wanted form and function.
During the entire design and build-out, we consciously selected and installed materials to avoid outgassing on a hot day. We don’t want Bonny to stink of hot lacquer, spray foam, glue, or whatever when it’s 100 degrees outside and we’re just back from a bike ride. No one likes a stinky van when they’re trying to cool off and relax.
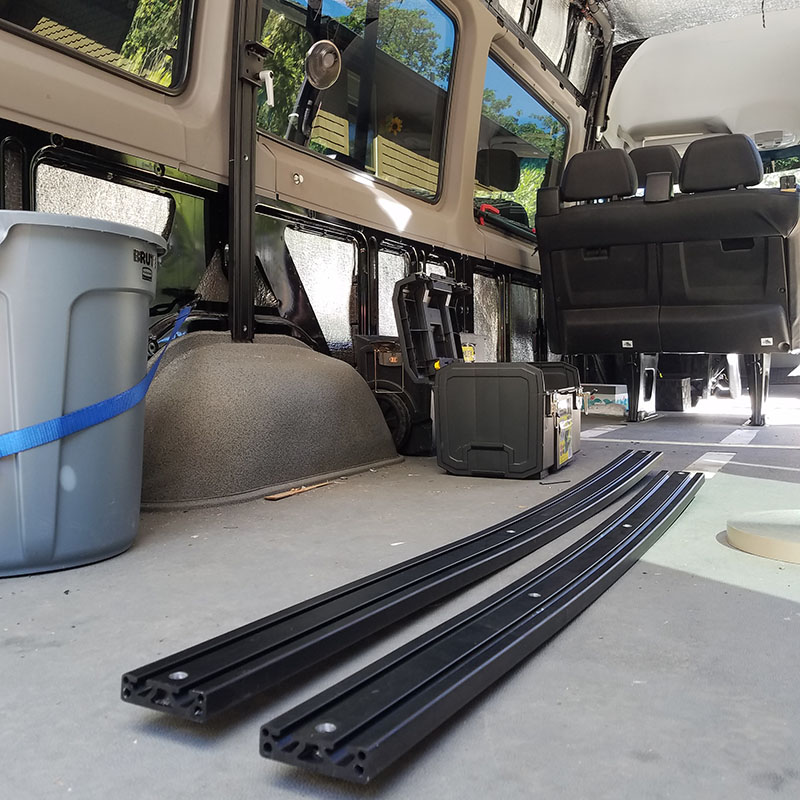
Vertical T-Slots roll bent to fit sidewall of van
You know what else no one likes? Squeaking. Have you ever tried searching for a squeak in your vehicle while driving down the road? Not very safe but it’s the only way to find it. Things don’t squeak when you’re parked.
Both of these considerations drove the design and execution of the interior wall system. The end goal was to create a warm inviting interior, that also had modular functionality.
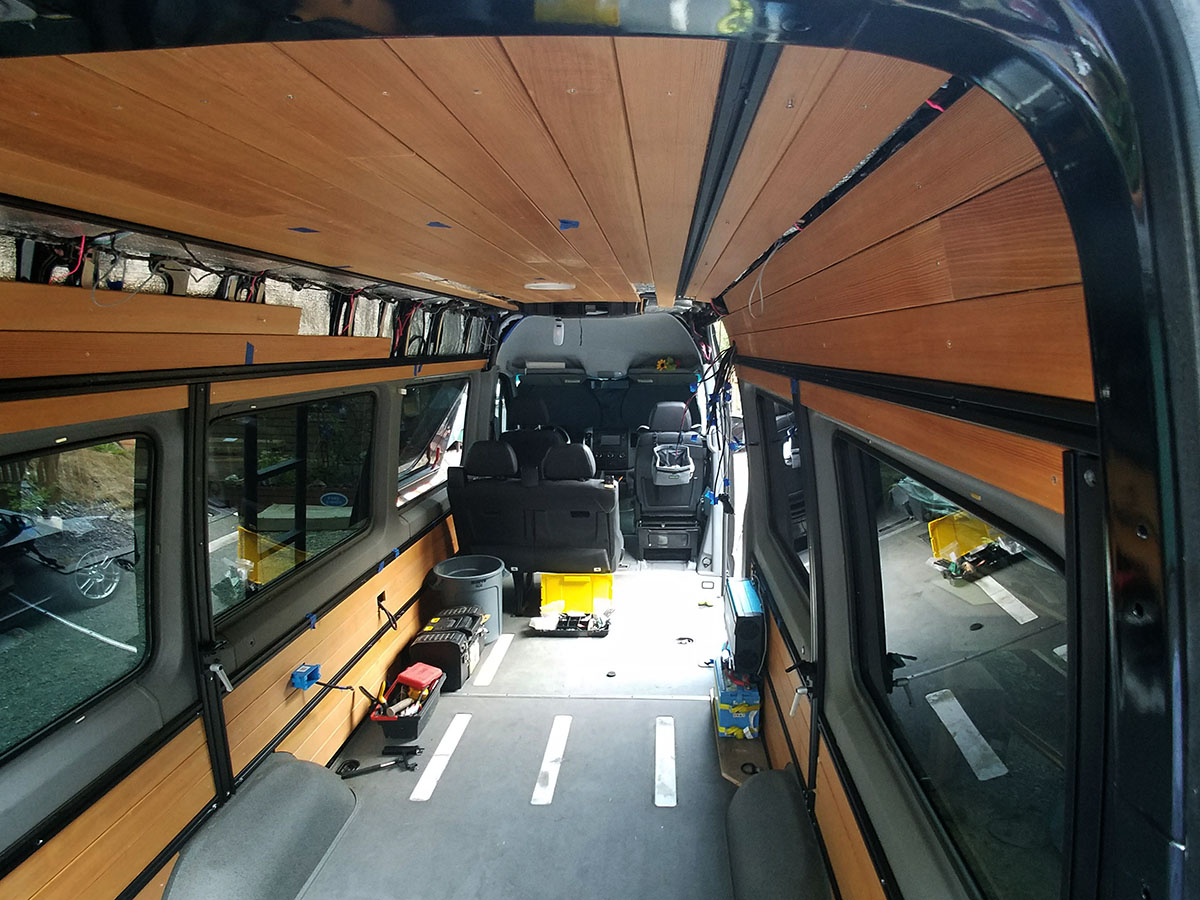
For the cladding on the Sprinter van interior walls, we opted for the warm honey look of clear vertical grain (CVG) Douglas Fir with a natural hard wax top coat. We avoided the use of overlapped tongue and groove product, because of the fear of squeaking—unfounded or not. And the results speak (not squeak) for themselves.
Another design and functional consideration for the interior was a mounting system that would give us a tremendous amount of flexibility. We opted for a low-profile 80/20 T-Slot once again for the flexibility that allowed for on-the-fly changes. This time we chose a sexy anodized black finish. The interior track system needed to go in first, so let’s start there.
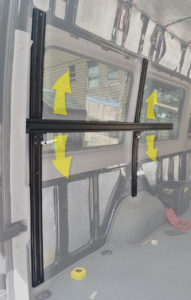
On the fly height adjustable bed rail mount
Building a Versatile Interior Track System
We knew the wood slats would need to fit in between the interior track system components, and that the track system needed to be mounted accurately. So, we started with the track.
These were the major requirements:
- Provide robust mounting points for the cabinetry
- Offer several strong tie-down and tie-side locations
- Be able to mount and support an on the fly height-adjustable bed
- Not squeak
- Strong enough to confidently secure cabinetry over my child’s head without fear
The adjustable bed needed to have a vertical movement range to allow for sleeping at a lower position, and also be up and out of the way for transport of a motorcycle, bicycles, and that undesirable day when we’ll be moving our home. (Stay tuned for a future post on the bed system.)
Basically, the tracks would be securing a pretty decent amount of weight—especially in an accident or very sudden stop—and we needed to engineer the **** out of it.
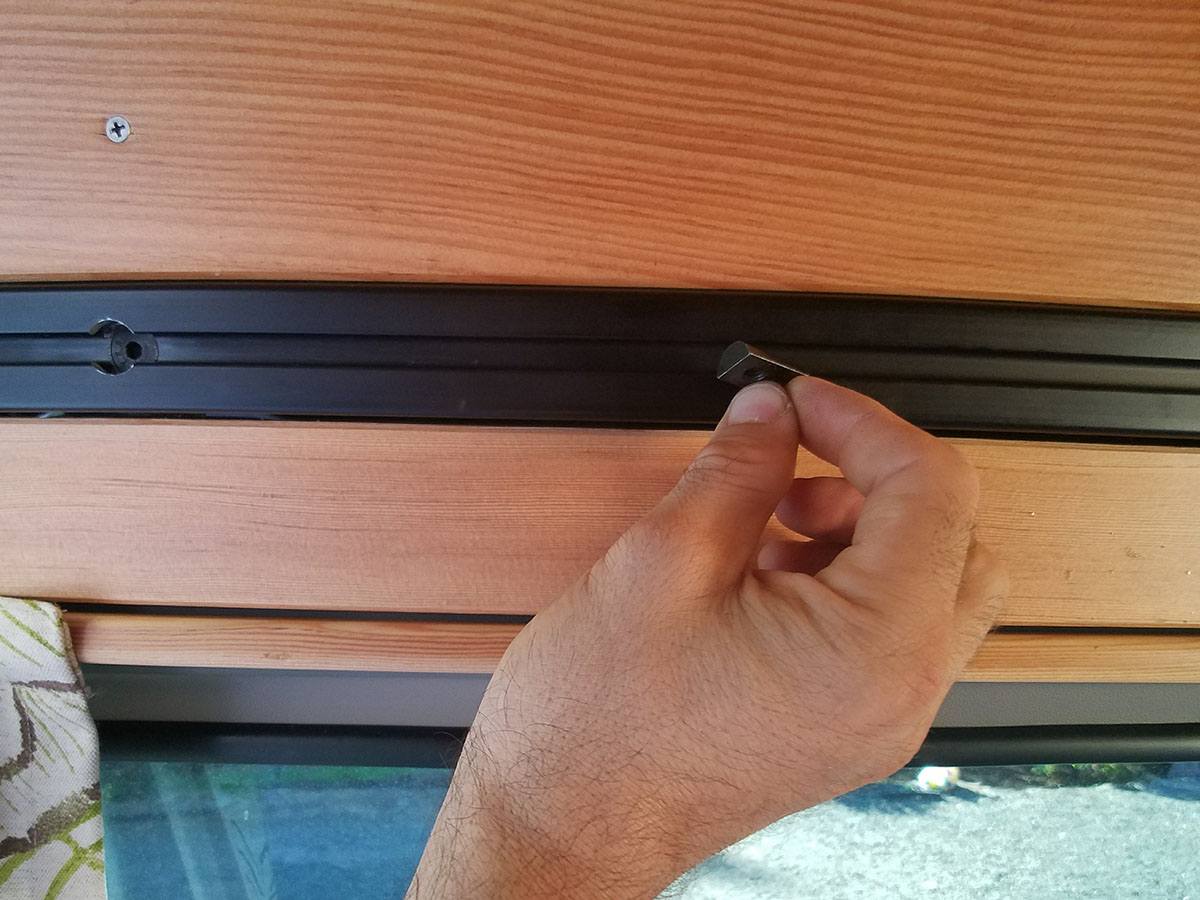
Trials and Tribulations While Installing the Track System
The 80/20 material doesn’t come milled but we wanted a countersunk screw to allow for the nuts in the T-Slot to be able to slide freely. So, we put together a jig for drilling the T-Slot profile, with a stepped countersink drill to complete it all in one pass. Well, no go…
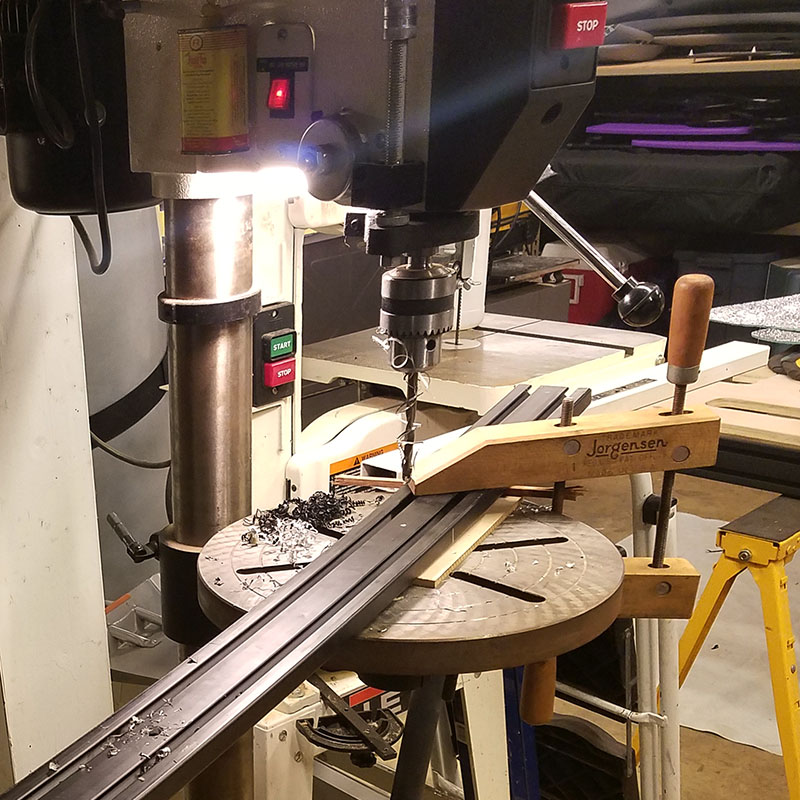
Drilling 80/20 was time consuming, tedious, and expensive
In one of the great disappointments of 2017, we discovered that our drill press didn’t have a large enough chuck for a 5/16 stepped countersunk drill as it has a ¾” shank. And our drill press has a 7/16″ collet. This led to the tedious trial of chucking a reduced shank 11/16” drill, drilling, chucking the 5/16 drill, drilling, and then chucking a countersink, and drilling yet again.
For each hole….80 times, 240 operations all in all. Tedious. (See the ‘In Hindsight’ section below.)
However, the installation and strength came out and looked great. And on the real test—the open road on some gnarly, beat-up washboards that will make you question your dental work—the cabinetry we later installed held up wonderfully and remained very secure.
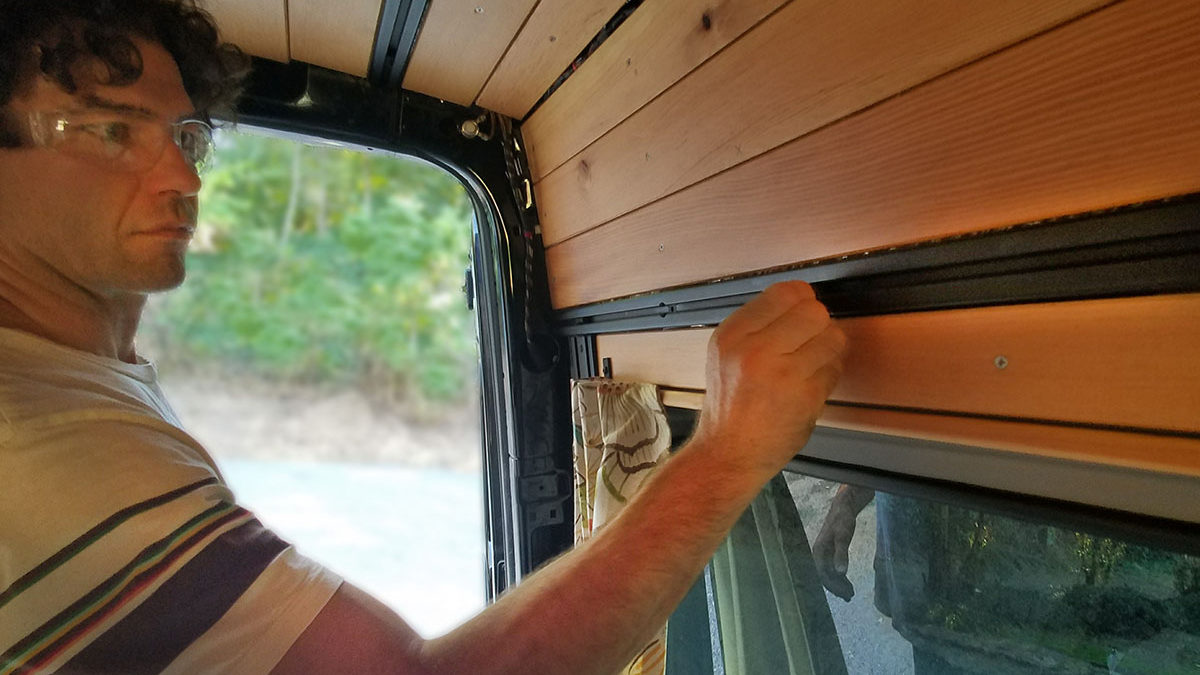
Installing the T-Slot involved temporarily positioning it with a conservative amount of VHB tape, and match drilling the steel pillars of the van. We were VERY careful not to push too hard and hit the outside paneling of the van. We didn’t want to create a nice pimple on Bonny Lass.
Okay, we pushed too hard, which did create a very nice pimple. Twice. It was rectified with a thin dowel of wood and a mallet, carefully struck. Bodywork skills, check.
Measuring twice and using a wood template to layout the upper horizontal tracks was a huge help in making sure they were lined up and consistent. After match drilling the first hole, it was important to install the Rivnut and screw the T-Slot into place. THEN match drill another, install the Rivnut, and THEN and only then, match drill the remaining holes. Considering we used countersunk screws in the T-Slots, the hole locations needed to be very accurate for risk of misalignment.
Since we couldn’t receive T-Slot lengths longer than 6’ without excessive shipping charges, and the interior length is ~14’, we ordered in sections and used spring pins at the joints. It worked great for a seamless install.
In addition to the the horizontal sets of T-Slot tracks, front to back, top and bottom on both sides, a set of vertical tracks in the rear to mount the bed was also needed. The plan seemed straightforward at the time, until we noticed that the sides of the Sprinter walls were curved.
In an effort to make things more difficult (ie, get a net fit), we took the the vertical T-Slot extrusions to our local vendor, along with a cardboard cutout template of the wall profile. They did a great job rolling a curve into the T-Slot material so that it fit on the pillars perfectly.
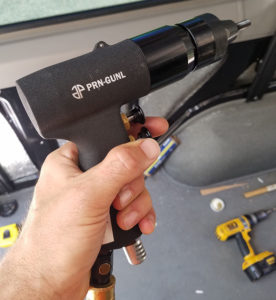
Installing the Rivnuts was a lesson in humility. Holy moly you better bring your Kung-Fu grip if you’re going to use a manual Rivnut tool. We started off that way but quickly got back on Amazon for a pneumatic Rivnut tool.
After a couple of angled installations, and sore hands and having to drill out poorly installed Rivnuts, the investment of a pneumatic Rivnut tool was worth every penny. You won’t be disappointed if you go that route. Fast and accurate, although not cheap. Here is the link to the manual version.
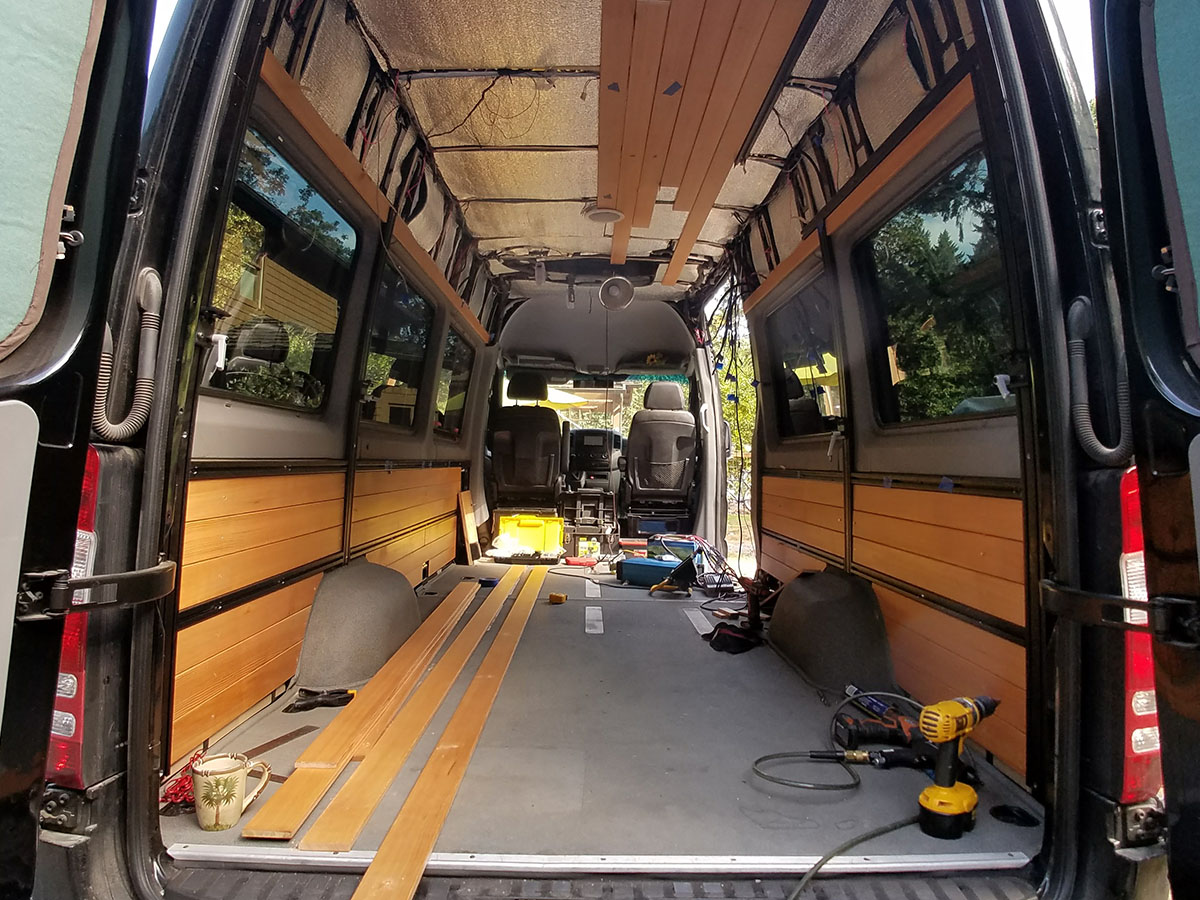
All Sprinter Van Interior Designs Should Include Wood
After the interior track system was in place, we could focus on installing the 1/2″ x 3-1/2″ Douglas Fir cladding. Instead of finishing them in place, we finished all sides of the fir to avoid inconsistent moisture absorption and reduce the likelihood of warping. We set up a finish assembly line and used two coats of Osmo PolyX-Oil 3043 Clear Satin hand-rubbed hard wax.
We knew at some point the van was also going to get hot, and we didn’t want any smell from the finish. Since they use this stuff for baby toys, I figured we were safe. This wax is tough stuff. It wears very well, and it’s easy to apply and repair. Most importantly, it looks beautiful and puts a wonderful glow on the wood.
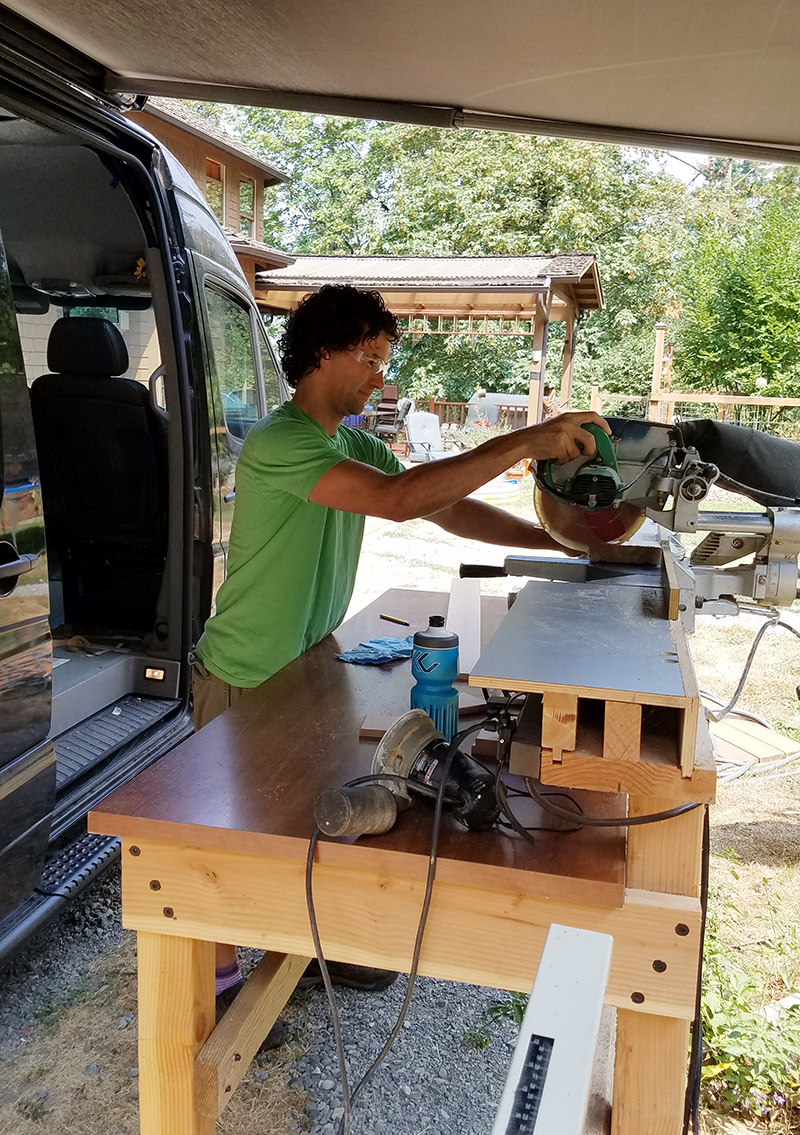
Building the van with the power from the van
After all of the material was prefinished, measured twice, and then cut, we again applied some VHB to the ribs of the van to reduce squeaking, and spaced the wood slats with a 1/16th spacer. We then placed the wood in position with the VHB and accurately pilot drilled the wood in place and through the ribs of the van.
Gaps are important between wood slats as they allow for a bit of airflow with the insulation. It can get pretty moist in the PNW and we wanted to make sure things would breathe. Another important reason for the gaps is related to expansion. CVG wood will expand and contract, fairly considerably.
The last step was driving a thread forming b-type screw. Voila! Secure and beautiful.
The screw choice was carefully considered. We chose the thread forming type, versus the cutting type, as it will be less inclined to back out over time. The ‘B’ designation means it’s a dull point so it won’t cut into electrical lines on the backside of panels.
The best thing about all of this? The challenges, successes, head dipping shameful mistake moments? Was that we were building the van with the power from the van!
In the end, we hit the utility and beauty mark with a gorgeous blend of black anodized T-Slot with mounting points all over the place, and finish woodwork to warm things up. The end result? High-tech cozy. Stay tuned for our next post about the adjustable modular bed design!
Project Specs
- 1/2″ x 3-1/2″ CVG Douglas Fir: 365 linear feet
- Osmo PolyX-Oil 3054 Clear Satin: Great finish, used about 0.75 liters
- 80/20 1575 T-Slotted Profile: 91 feet
- 80/20 3075 Double T-Slotted Profile: 10 feet
- 5/16″-18 Rivnuts: Qty 80
- 5/16″-18 x 3/4″ Flat Head Socket Cap Screws: Qty 80
- #8-32 x 1″ type B Stainless Steel thread forming machine screw: Qty 300
- 3M 4492 Black Foam Tape, 1″ width: 1 – 72′ yard roll
- Astro Pneumatic Tool 1442 13″ Hand Rivet Nut Setter Kit: What we started with
- Astro Pneumatic Automatic Rivnut Tool: what we ended with and wore out after 18 van builds
- TACKLIFE 14″ Auto Pumping Rod Rivnut Setter: another great option that we’ve been using and have been happy with
- 5/16 Steel Rivnuts (100 Piece)
: The rivnut tool didn’t come with enough
-
TEMO M35 Cobalt double flute step drill
: for easily making perfect holes for your rivnuts
- Cobalt 82 degree Countersink: for setting screw flush to interior of 80/20 T-slot
- Reduced Shank 11/16″ 135 degree Cobalt Drill Bit: for drilling 80/20 T-slot clearance of bolt
Some of the above links will take you to Amazon, and as an Amazon Associate CreatID, Inc. will earn revenue from qualifying purchases.
In Hindsight
80/20 milling is a PITA. We developed another solution that takes about a 10th of the time. No 3 step milling process of the extrusion is necessary. What we’ve developed is cheaper, lighter, just as strong, and MUCH easier to install. Check out our ready to install Sprinter Interior Mounting System Kit. Now available for purchase.
In general, the effort installing the mounting track has paid back may times in huge dividends. Definitely will do it again, but will be doing in a way that’s easier with the new mounting kit.
The Douglas Fir is amazing—no qualms there. However, with the reflective Low-E behind it, and the 1/16” gaps, you can sometimes see it. And, that’s annoying. If I ever use the Low-E again, I’d put up a black scrim so that you can’t see the Low-E through the cladding. But actually, I question even using it. Great for the window covers we made, but don’t see a lot of benefit to it for the cost based on it’s radiant performance characteristics.

